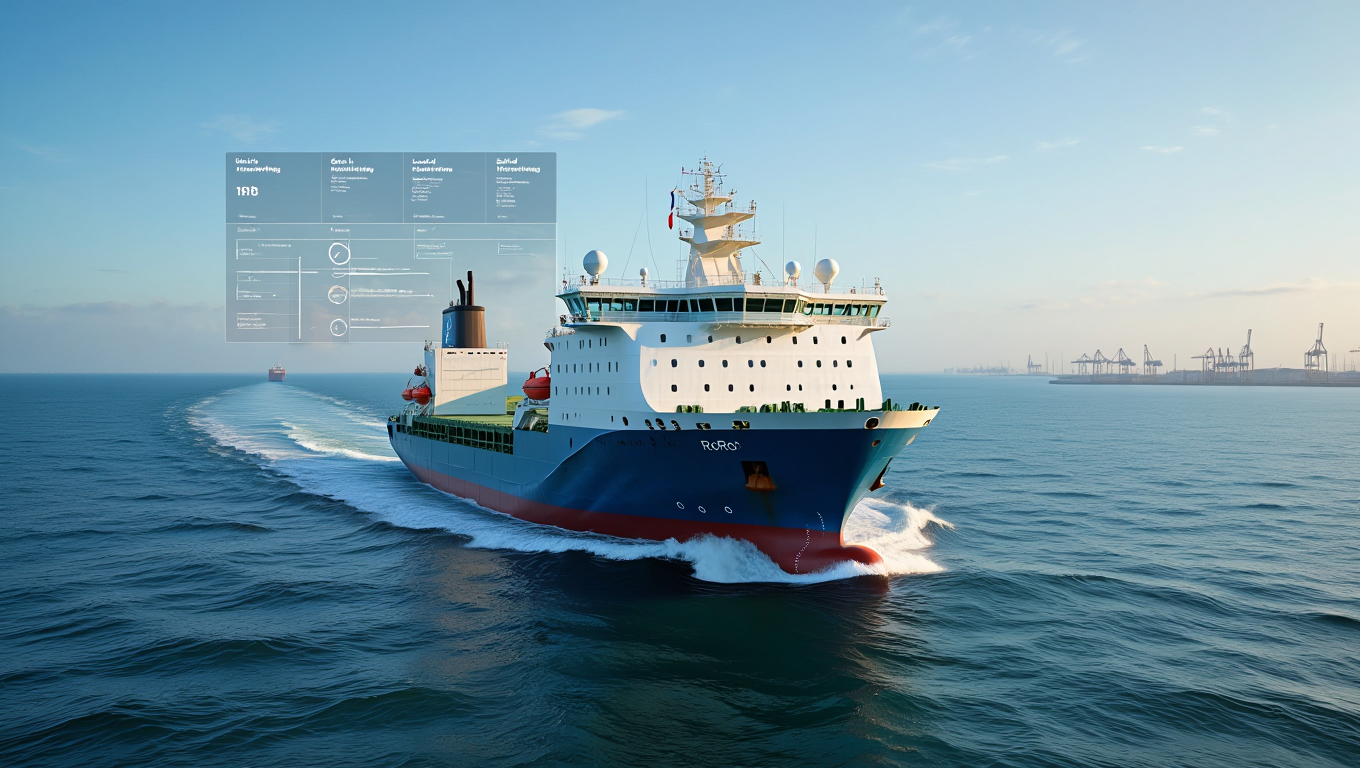
Why tracking at RoRo is more than just „ship on map“
RoRo (roll-on/roll-off) is fast, robust and ideal for roadworthy vehicles. Nevertheless, some shipments feel opaque – especially when status updates are scattered across emails, portals and PDF notifications. A structured RoRo tracking system brings these pieces of the puzzle together into a clear timeline:
- Milestone transparency: You always know where your vehicle is in the process – and what happens next.
- Proactive control: You can identify deviations such as ETD shifts at an early stage and adjust lead times and follow-up times accordingly.
- Clean handovers: consistent data means claims and collections are processed faster.
Directly useful for planning: Timetables and What do I need to bear in mind for a RoRo shipment?
The three pillars of tracking: EDI events, ship AIS and document status
1) EDI/portal events
Carriers and terminals generate standardised status messages – e.g. as EDI events such as CODECO or COARRI. The most important milestones:
- Booking confirmed
- Doc Cut-off Met
- Gate-In Full (GIF)
- Loaded on Vessel
- Sailed / Departed
- Arrived
- Discharged
- Released
Important: VIN, dimensions and other data must be accurate – otherwise queries or status stops will occur.
2) AIS ship position
AIS (Automatic Identification System) transmits ship positions via IMO numbers. This helps to identify ETA deviations at an early stage. AIS is regulated internationally (SOLAS). Official guidelines are provided by the IMO - CTU Code.
However, AIS only shows the ship, not the vehicle. Therefore, always use AIS in combination with booking events.
3) Document status
B/L status, telex release and customs clearance are crucial. Without them, even a perfect ETA is useless – because exemption depends on them.
Further information: What do I need to bear in mind for a RoRo shipment?
How to set up your roro tracking system in 7 steps
Step 1: Establish data consistency
- VIN, dimensions, weight and recipient data must be identical across all systems.
- 6-page photo documentation (exterior, interior, VIN) assists with gate-in and claims
Step 2: Define relevant milestones
Set key points such as gate-in, loaded, sailed, arrived, discharged and release. Assign responsibilities.
Step 3: Enable notifications
Set alerts for important events – e.g. via email or app.
Step 4: Connect AIS vessel tracking
Look up the IMO number of the ship and enter it in the shipment file.
Step 5: Define B/L workflow
Decide early on whether you will work with original B/L or telex release. Check all fields in the B/L draft carefully.
Step 6: Prepare the destination port process
Customs clearance should commence upon arrival of the event. Allow for buffer times for collection and storage.
Step 7: Manage deviations
Combine AIS with carrier information to respond flexibly to ETD/ETA changes.
Table: This information should be included in every shipment file.
Category – Must-have – Nice-to-have
Identification – booking number, VIN, recipient – contact person, customs IDs
Specifications – dimensions, weight, drive type – photos, special superstructures
Routing – Port of departure/destination, ETA – Alternative ETD, terminal information
Documents – invoice, packing list, MRN – certificate of origin, insurance policies
Tracking – milestones, IMO no. – notifications, escalation rules
Reading EDI events correctly: From „Gate-In“ to „Release“
- Gate-In: Vehicle accepted at the terminal
- Loaded on Vessel: On board the ship, sea transport begins
- Sailed: Departure – now prepare B/L release
- Arrived: Ship at destination port
- Discharged: Vehicle unloaded – starting point for customs
- Released: Terminal releases goods for collection
Using AIS smart: What it can do – and what it cannot do
Advantages:
- live position
- ETA detection
- Course and speed visible
Limits:
- No vehicle reference
- Incomplete data in some regions
- Safety shutdowns possible
Tip: Always combine with EDI.
Common tracking errors – and how to avoid them
- Inconsistent data – VIN or dimensions may differ
- Unclear B/L workflow – leads to delays
- AIS as the sole source – insufficient
- Not gate-ready – e.g. empty fuel tank or missing key
- Port of destination contact too late – better to take action before departure
Mini guide: Useful notifications
- Gate-In: Start document check
- Sailed: Check B/L release
- Arrived: Prepare customs
- Discharged: Coordinate collection
- Released: Trigger handover and transport
Checklist: Set up your roro tracking system in an hour
- Enter booking details & VIN
- Set relevant milestones
- Activate alerts
- Search for ship + IMO number
- Clarify B/L process
- Prepare destination port
- Document fallback scenarios
FAQ: Frequently asked questions about the roro tracking system
How often should I check the status?
Alerts are sufficient for key events. In addition, check the AIS daily in case of bad weather or traffic jams.
Can I use a GPS tracker in my vehicle?
Often not permitted. Safety and liability issues. EDI and AIS are standard.
Why do AIS ETA and carrier ETA sometimes not match?
AIS uses course/speed, carrier ETA is based on port windows. The latter is more reliable for pick-up planning.
What to do if „Gate-In“ is missing?
Follow up with the freight forwarder or terminal – VIN verification or photos are often missing.
How much does a tracking system cost?
Depending on the range of functions. Please request an individual quote for prices.
Conclusion: Transparency wins – with systems and standards
A good roro tracking system combines EDI milestones, AIS ship positions and document statuses to create a reliable timeline. This allows you to identify deviations early on, avoid demurrage charges and organise transfers efficiently. Pay attention to data quality and consistent workflows, and use the schedules provided by ODS Orient for smooth planning.
Disclaimer: All information in this article has been carefully researched but is subject to change at any time. ODS Orient accepts no liability for the topicality, accuracy and completeness of the information provided.